Set Up Your Jupyter Notebook Kernel in VS Code with pyenv virtualenv in WSL
Streamline your Python development by integrating Jupyter, VS Code, pyenv, and WSL
A step-by-step guide to simplifying your Python development workflow.
✨ Prerequisites
Before we get started, make sure you have these tools installed:
With all these installed, you're ready to start. Let's dive into the steps!
1️⃣ 🐍 Installing the Python Version
The first step is to install the Python version you'll be using on your virtual environment with pyenv. If you haven't installed it yet, use this command:
pyenv install To check the installed Python versions, use:
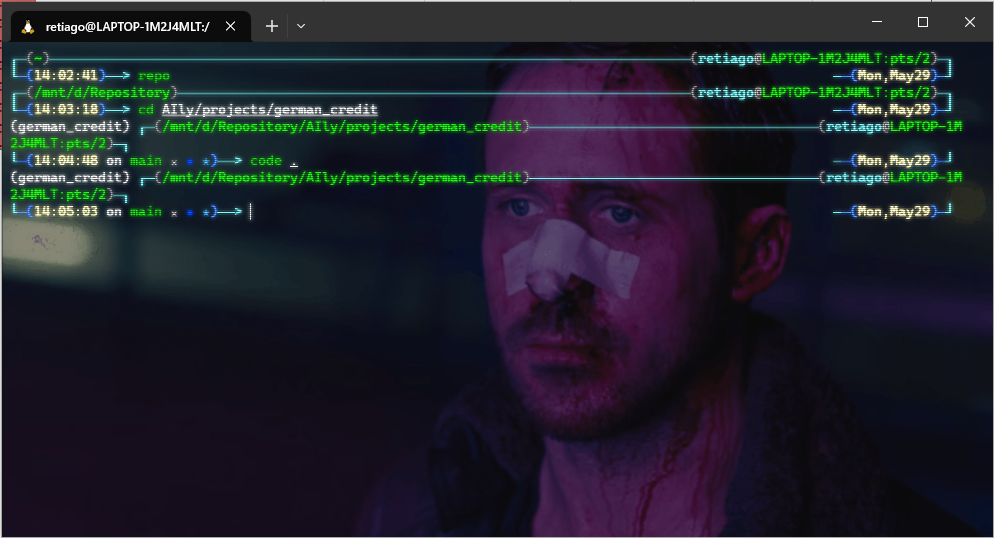
pyenv versionsHere's what it looks like on my Windows Terminal, the * indicates the current active Python version:

2️⃣ 📁 Heading to the Target Directory
Next, navigate to the directory where you'll be working with your virtual environment. Here, pyenv will create a .python-version file for your virtual environment.
3️⃣ 🌐 Creating a Virtual Environment
Creating a virtual environment is a breeze with pyenv. Just use the command:
pyenv virtualenv For example, to use Python 3.11 for a virtual environment named german_credit, run:
pyenv virtualenv 3.11 german_credit4️⃣ 🔛 Activating Your Virtual Environment
Now, it's time to activate your newly created virtual environment. This can be achieved with the command:
pyenv local If you've configured eval "$(pyenv virtualenv-init -)" to run in your shell, it will automatically activate or deactivate your Python versions when it enters or exits a directory with a .python-version file.
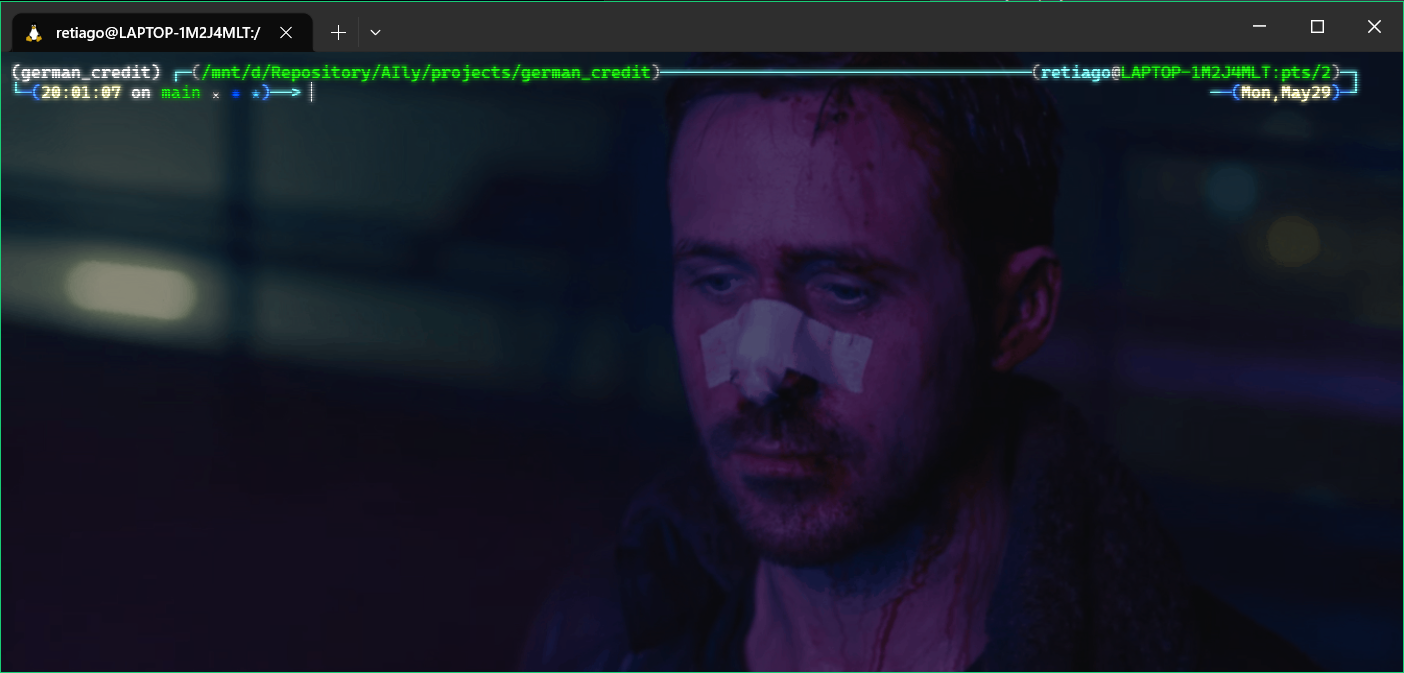
Here's what it looks like on my Windows Terminal, notice there is a prefixgerman_creditat my current WSL:
5️⃣ 💡 Installing ipykernel into Your Virtual Environment
VS Code needs the ipykernel package to run your Python environment as a kernel. So, install ipykernel in your active virtual environment using:
pip install ipykernelThis is also a good time to install other requirements for your project, such as pandas, numpy, or scipy.
6️⃣ 🚀 Launching VS Code Remote via WSL
With ipykernel installed, you can launch VS Code from the terminal session where you activated your virtual environment using:
code .This command assumes you've already installed the VS Code Remote - WSL Extension.
7️⃣ 📔 Selecting the Kernel in Your Jupyter Notebook
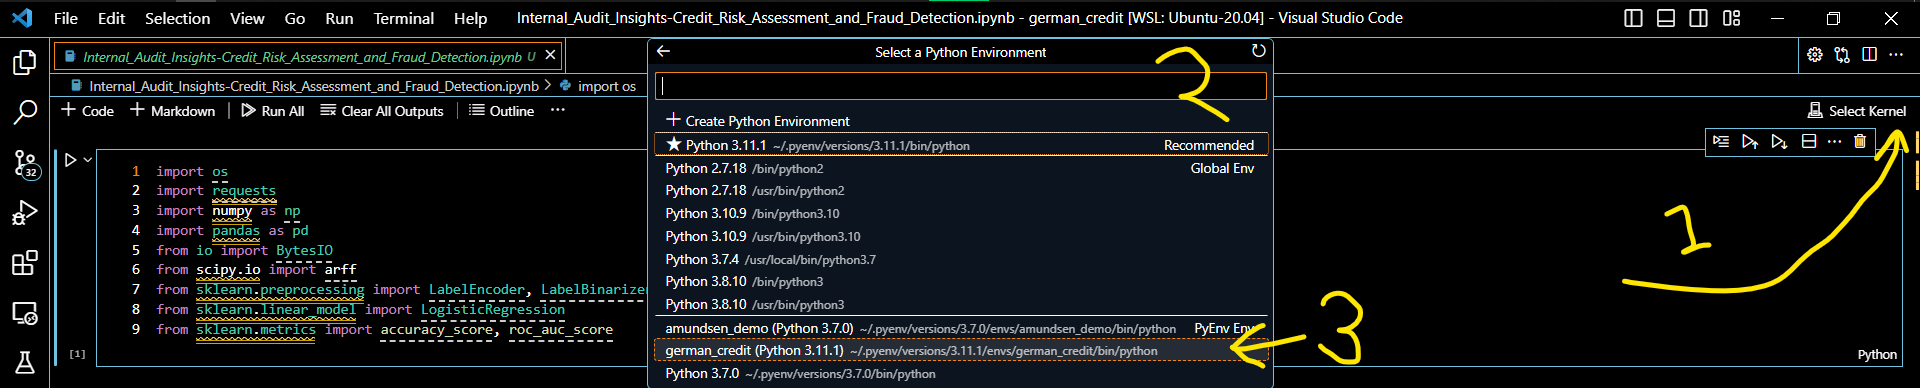
Open your Jupyter notebook in VS Code and click on "Select Kernel" in the upper right-hand corner. If your active virtual environment isn't in the dropdown, click on "Select Another Kernel". You should now see a list of available Python Environments. Locate your active virtual environment in this list and click on it.
Here's what it looks like on my Visual Studio Code:
8️⃣ ✅ Verifying Your Setup
Finally, let's verify the setup. Try running a cell in your Jupyter notebook that imports a package you installed earlier. If there are no errors, congratulations, you've successfully set up your Jupyter Notebook Kernel in VS Code with pyenv virtualenv in WSL! 🎊 🥳
This step-by-step guide should provide a straightforward path to optimizing your Python development workflow. Happy coding! 🚀
👉 Next
👈 Previously
Support My Work
Thank you so much for taking the time to read my story. I pour great effort into these pieces, hoping they bring value, inspiration, and insight to your life.
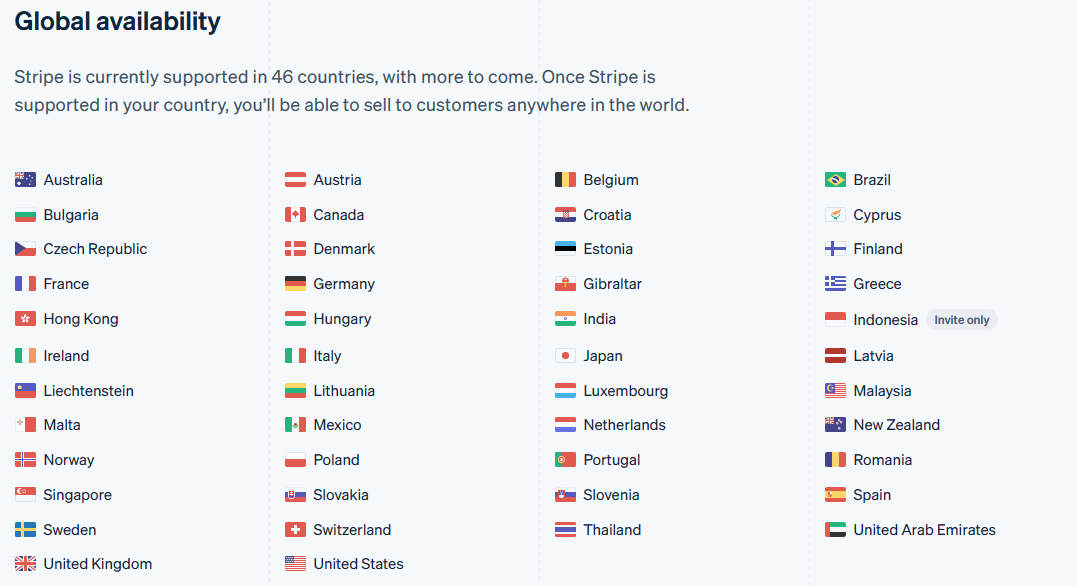
As you may know, the Medium Partner Program isn't fully available in Indonesia because of restrictions with Stripe, their payment system. This means I cannot directly monetize my work through Medium. However, there's another way you can show your support.
If you appreciate the content I provide, I warmly invite you to head over to my Beacons profile. There, you can directly support my work. Your contributions fuel my writings and keep the insights and stories coming.
Moreover, if you're a fellow Indonesian who has faced similar challenges, let's make a difference together. I urge you to sign up to Stripe under the Indonesian code via this link. By doing so, we can collectively show our demand for Stripe's full service in our country. The more exposure we generate, the higher the chances are of Stripe becoming completely available in Indonesia.
Remember, each small action contributes significantly to this cause. Whether it's sharing my stories, donating via my Beacons page, signing up on Stripe, or just leaving a heartwarming comment - it all counts and is deeply appreciated.
Thank you for standing by me on this journey. As always, thank you for reading, and here's to many more stories together.
- EDITOR
- KNOWLIB
- SOURCS
- knowlib.app